A Cure For Middle Grey Madness
With each camera system using different log curves it can be hard to know how to get the most out of the sensor.
Knowing middle grey for your camera system is a powerful technical and creative tool, especially when shooting in Log formats.
Technically you will be able to maximise the dynamic range of the sensor. Creatively you can experiment with the density (darkness) of your digital negative.
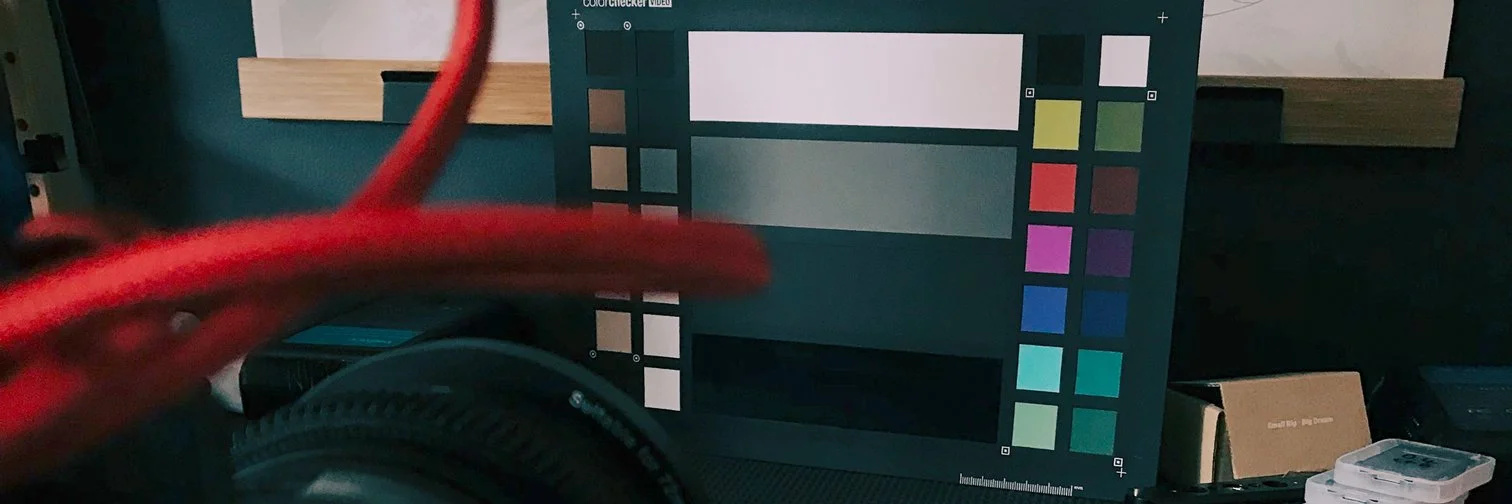
X-rite Video Checker: The patch below the white chip is middle grey
A short explanation of middle grey…
Mid-grey is roughly halfway between black and white on a scale of luminance.
To confuse us even further, it can be referred to as 18% grey. Not to be confused with 18% on the IRE exposure scale running down the side of your waveform monitor.
So, how does this help us expose things properly?
Middle grey is a great starting point for more than exposing skin properly. It helps all luminance and colour fall neatly into place.
The challenge is mid-grey changes depending on the camera manufacturer's log curve.
To help solve this problem I’ve collected various mid-grey manufacturer values and listed them below.
Arri LogC (LogC3) - .391
Arri LogC (LogC4) - .28
Blackmagic Film Gen5 - .466
Canon Log 2 - .398
Canon Log 3 - .343
DJI D-Log - .399
RED Log3G10 - .333
Panasonic V-Log - .423
Sony S-Log3 - .411
Converting these values to IRE values on your waveform will provide a solid starting point e.g. .391 = 39%
Exposing a mid-grey card or your area of focus at these values will help you evaluate your exposure.
From here, we tweak lighting to suit but remember to check you are not losing detail in the shadows or clipping highlights.
Using monitoring LUTs in combination with your waveforms is the best way to dial in your exposure. Spotting mid-grey through a log curve can be near impossible sometimes.
For the best results work with a colourist to create a monitoring LUT designed for your camera system. Build a look in pre-production, anchor the look around mid-grey and never look back.

